Preparing List of Files


| Rename Us Users' Guide | vlsoftware.net |
Preparing List of Files |
|
To prepare list of files for renaming or copy (source files), please go to Select Files page.
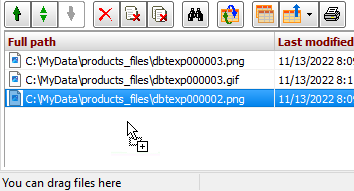
The list of the source files of the project is located at the bottom of the page. It can contain files with unique file path only, duplicating files are ignored when adding.
You can add files to the project file list simply by dragging them from Windows Explorer.
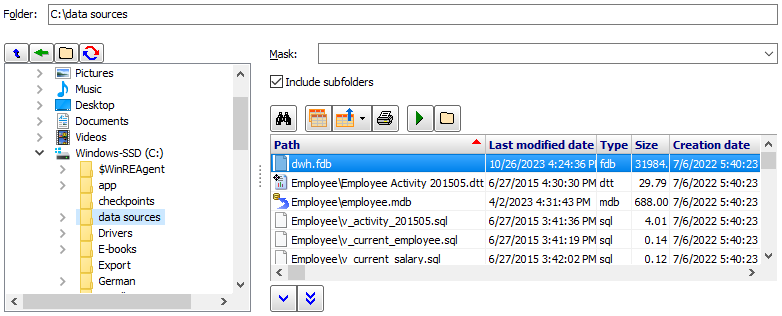
You can add files to the list using file explorer in the top part of the page.
First, specify folder, from which you wish to add files. You can do this by typing folder name in the top field and pressing Enter, or just by selecting it from folder tree to the left.
After selecting the folder, the list of files it contains will appear to the right.
Filtering files using file mask
To filter the files in selected folder by a file mask (a pattern of characters to match file names), enter the needed mask in the corresponding window above and press Enter. Examples of the masks:
*.jpg;*.jpeg
*.mp3
conf*.*
*.bmp;*.jpg;*.jpeg
To list all files, use *.* mask or empty mask. To list only files without extension, use *. mask (asterisk and period).
There are more file mask examples.
To scan sub-folders too, please use the corresponding checkbox.
Adding files to project
After the files appeared in the list to the right, you can add them to the project list of files:
- to add a file or several files, select it (them) in the list and click Add Selected button
or press Enter;
- to add all files, click Add All Files button
(or press Ctrl+A to select all files and then press Enter).
Above the file list, you have a tool bar with a set of buttons, which allow you to perform some useful actions with selected files or with a whole file list:
find the file by its name or by a fragment of text in its name,
copy the file list to clipboard,
export the list of files with their attributes to several common formats like Excel, HTML, CSV etc.,
print the file list,
execute or open selected files,
show selected files in Windows Explorer.
These functions can also be used from the context menu of the list.
Similar functions are also available for the project file list at the bottom of the page.
To remove a file or several files from the list, select it (them) and click Remove Selected button
or press Delete.
To remove all files the list, click Remove All Files
button (or press Ctrl+A to select all files and then press Delete).
To remove non-existing files, click Remove Non-Existing Files button
.
To move selected file one position down, click Move Down button
.
To move selected file one position up, click Move Up button
.
To move selected file to the specified position in list, click Move to Position button
.
To sort the list, just click the corresponding column title. To sort in descending order, click the column title again.
To sort by several columns, click column titles holding Shift down.
To rearrange the list in random order, click Randomize button
.