


Previous topic: Importing Database Files from Explorer
In the previous topic, you've learned how to import data into an opened database by dragging and dropping data files and folders from Windows Explorer. In the discussed example, among other items, an Excel file with client orders was dragged and dropped into the Exportizer window. Let's see, how to process it in the application.
Registering an Excel File as a Database
Before importing data, Exportizer asks either to register the dragged Excel file as a database in Exportizer:
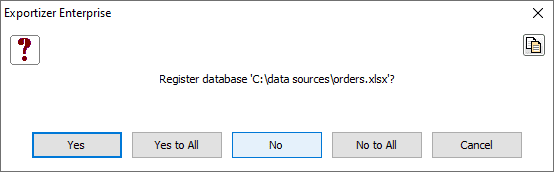
If you want to use this Excel file in Exportizer on the regular basis, it is better to register it. In this example, choose No.
Choosing Import Settings
Import dialog appears:
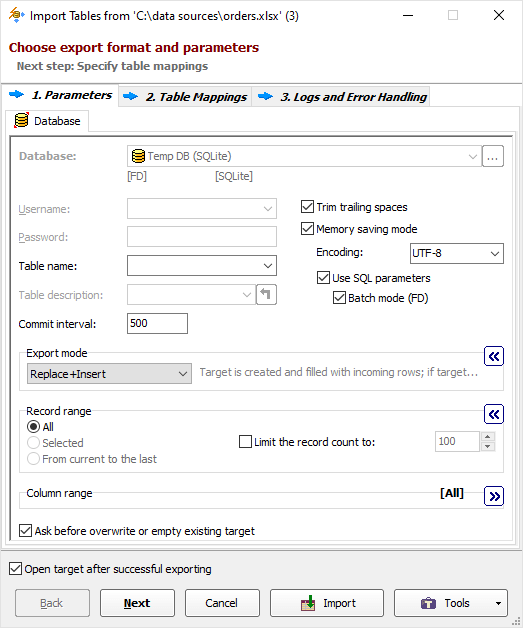
Review the import options and change the needed ones. Click Next.
Table and Field Mappings
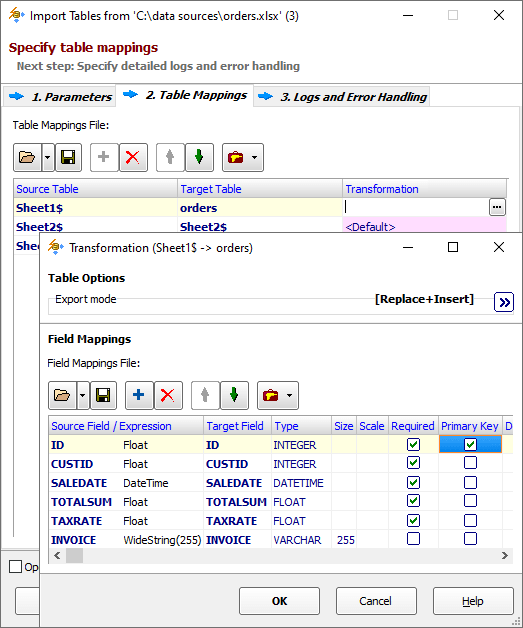
Now, please check the source-to-target table mappings.
Let's import Excel data to a target table with name orders. So, change the target table name accordingly. Remove the mappings for those Excel sheets which do not need to be imported.
In the Field Mappings column, you can click '...' button and check/update the source-to-target field mappings for Sheet1$ -> orders table pair. You will be able to rename columns, change their types, remove extra columns, specify primary key, override the export mode etc.
Click Import. If there are no errors, you'll see the following notification:

Next topic: Importing Data from dBase (DBF) Files
See also